

 Contact Us
How to Apply for a Iceland Visitor Visa: Step-by-Step Guide
Planning a trip to the Land of Fire and Iceland? Iceland’s dramatic volcanoes, glaciers, and northern lights make it a dream destination for travelers across the globe. Whether you’re visiting friends and family, exploring its stunning natural wonders, or attending a short-term event, securing a visitor visa is the first step—especially if you’re a non-EU/EEA national. This complete guide to Iceland visitor visa application will help you understand every step clearly and confidently.
In this guide, you’ll find a detailed Iceland visitor visa application process step-by-step guide, including specific instructions for those applying from India. You’ll also learn how to apply for Iceland visitor visa online, how to properly fill out the form, and key tips to ensure your application is successful. Whether you’re looking for an Iceland visitor visa application India guide or need help with the Iceland visa application form filling guide, this resource covers it all.
What is an Iceland Visitor Visa?
An Iceland Visitor Visa, also known as a Schengen Visa (short stay Type-C visa), allows you to visit Iceland and other Schengen countries for up to 90 days within a 180-day period. The visa provides optimal conditions for tourism activities and family visits and short events.
Iceland Visitor Visa Application Process Step-by-Step Guide
Here’s your Iceland visitor visa application process step-by-step guide to make the procedure smooth and hassle-free:
Step 1: Determine Visa Type and Eligibility
- Make sure you’re applying for the correct visa category. The visitor visa is suitable for short stays, including tourism and family visits.
Step 2: Book an Appointment
- Visit the official website of the Icelandic Directorate of Immigration or the relevant embassy/VFS Global site in your country to schedule your appointment.
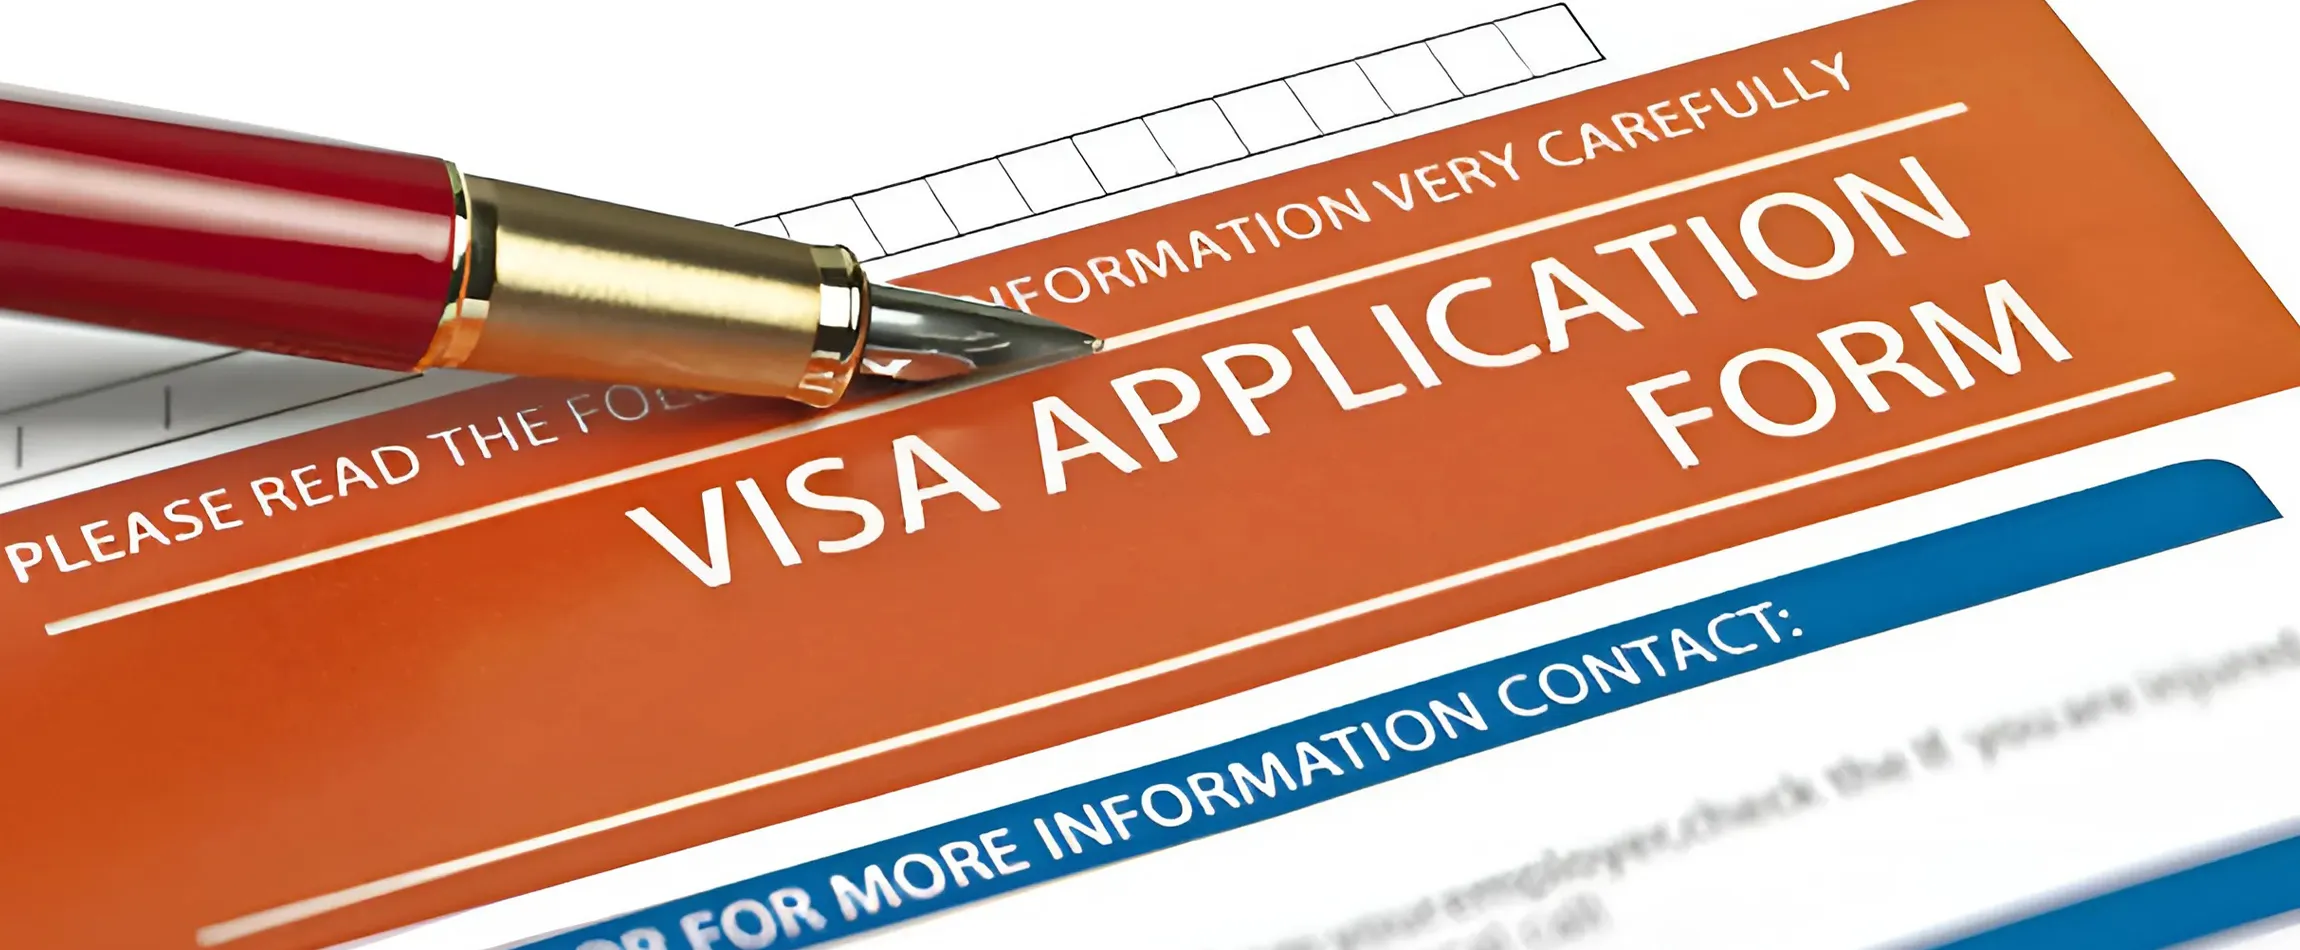
Step 3: Fill Out the Visa Application Form
Use the Iceland visitor visa application form filling guide below to complete your form accurately:
- Go to the Schengen visa online application portal.
- Select “Iceland” as the main destination.
- Fill in personal details, purpose of visit, duration, and accommodation info.
- Double-check for spelling errors and upload supporting documents if required.
- Tip: If you’re unsure, refer to the Iceland visitor visa application form filling guide on the embassy website or consult with a visa agent.
Step 4: Gather Required Documents
Typical documents include:
- Valid passport (with at least 2 blank pages)
- Passport-size photographs
- Completed and signed application form
- Travel insurance (coverage of at least €30,000)
- Proof of accommodation and travel itinerary
- Proof of financial means
- Visa fee payment
Step 5: Submit Your Application
- Attend your appointment and submit your documents at the visa center or embassy. Biometric data (fingerprints and photo) will also be collected.
Step 6: Wait for Processing
- Visa processing can take up to 15 working days, but it may vary. Track your application status online or via the visa center.
How to Apply for Iceland Visitor Visa Online
Wondering how to apply for Iceland visitor visa online? Here’s a quick summary:
- Visit the Schengen visa portal.
- Choose “Iceland” as your destination country.
- Fill in the digital form and print a copy.
- Schedule your visa appointment.
- You must deliver the printed form combined with supporting documents personally.